Introduction
This document explains how to redirect a local printer from your computer to a Windows server through Remote Desktop (RDP), allowing you to print documents from the remote server using your local printer.
Prerequisites
Before proceeding, please ensure that:
- The printer is properly connected to your local computer.
- You can print successfully from your local computer.
Step 1: Configure the Printer Port on Your Local Computer
- Open Settings → Bluetooth & devices → Printers & scanners.
- Select your local printer.
- Click Printer Properties.
- Go to the Ports tab.
- Ensure that LPT1: is checked.
- Enable printer pooling
Step 2: Enable Printer Redirection in Remote Desktop Connection
Make sure printer redirection is enabled in the Remote Desktop Client.
For Windows Remote Desktop Client
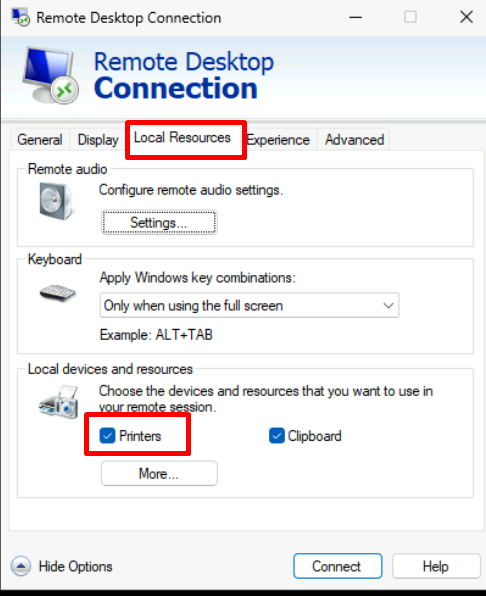
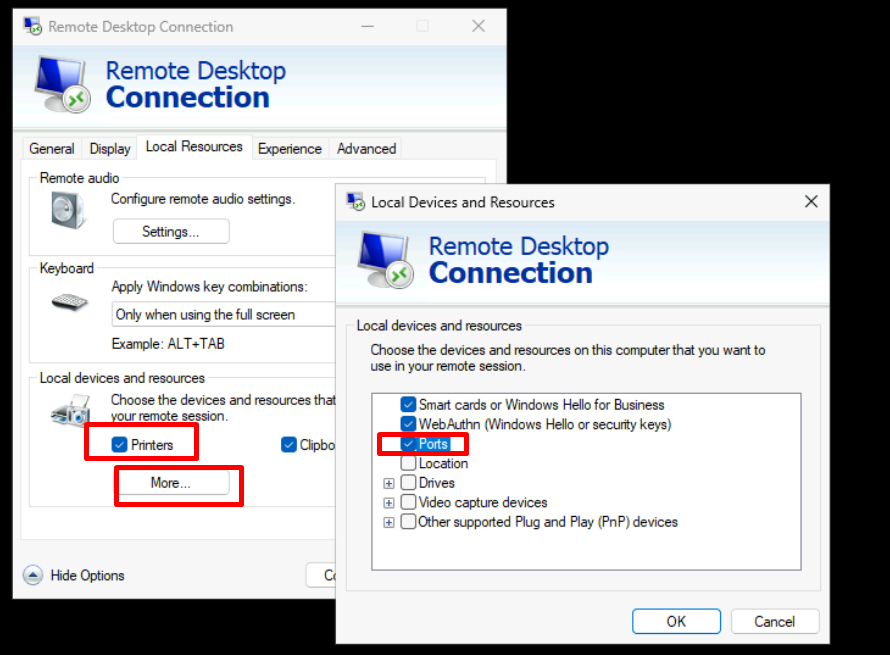
- Open Remote Desktop Connection on your local computer.
- Click Show Options.
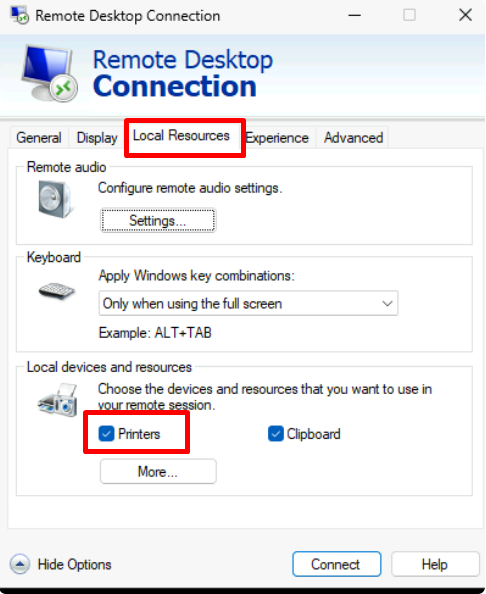
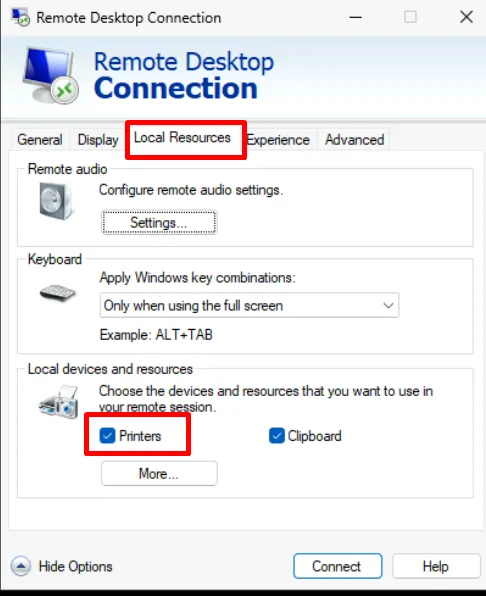
- Select the Local Resources tab.
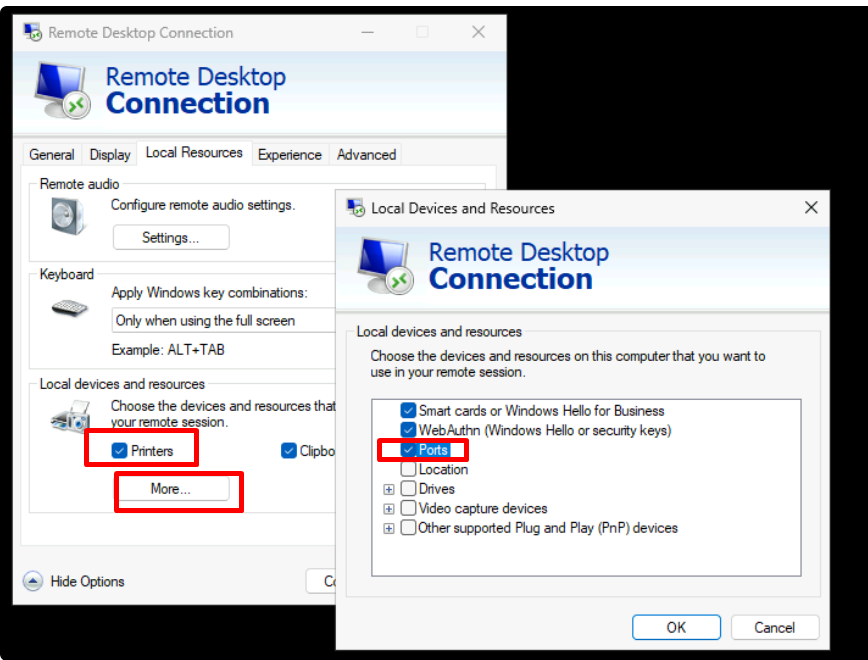
- Under Local devices and resources, ensure that Printers is checked.
- Click More...
- Verify that Ports is checked.
- Connect to the remote Windows server.
Step 3: Install the Same Printer Driver on the Remote Windows Server
The printer driver installed on the remote server must match the printer driver installed on your local computer.
- Log in to the Windows server via RDP.
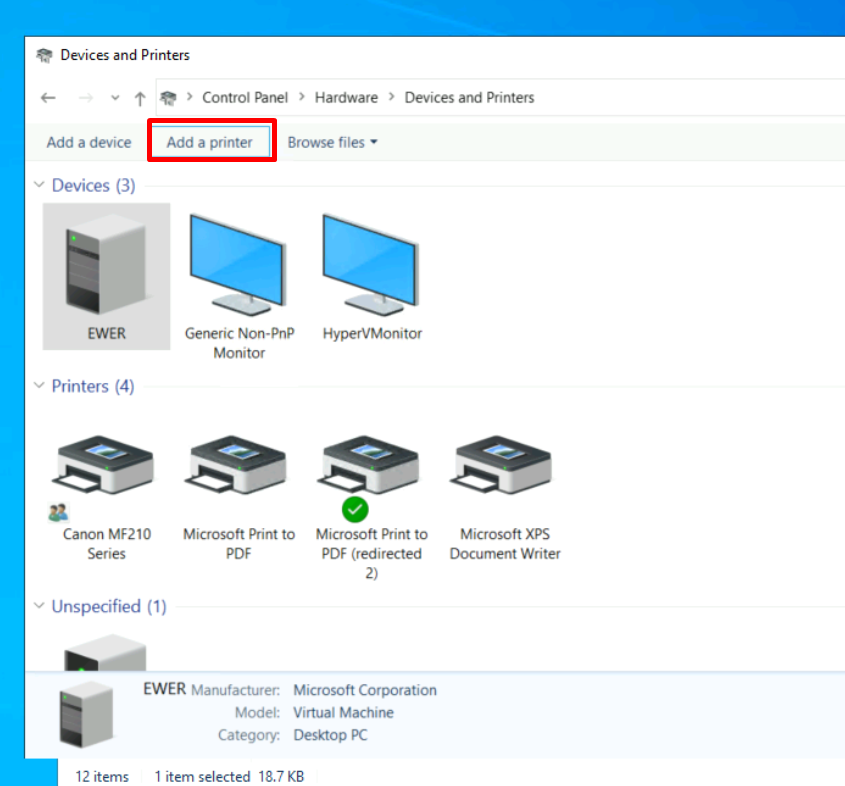
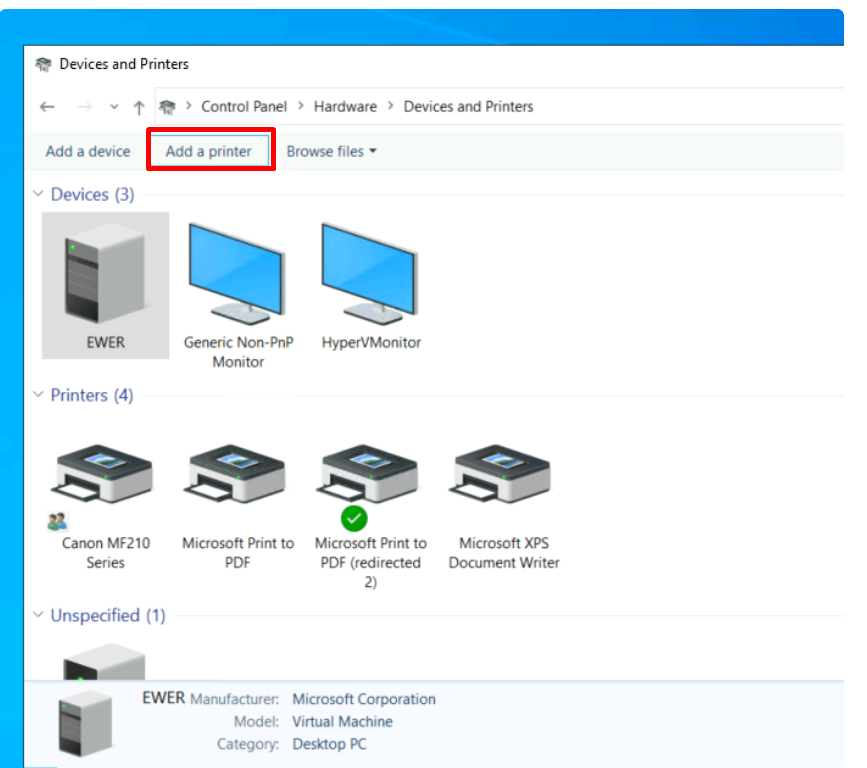
- Open Control Panel → Hardware and Sound → Devices and Printers.
- Click Add a printer.
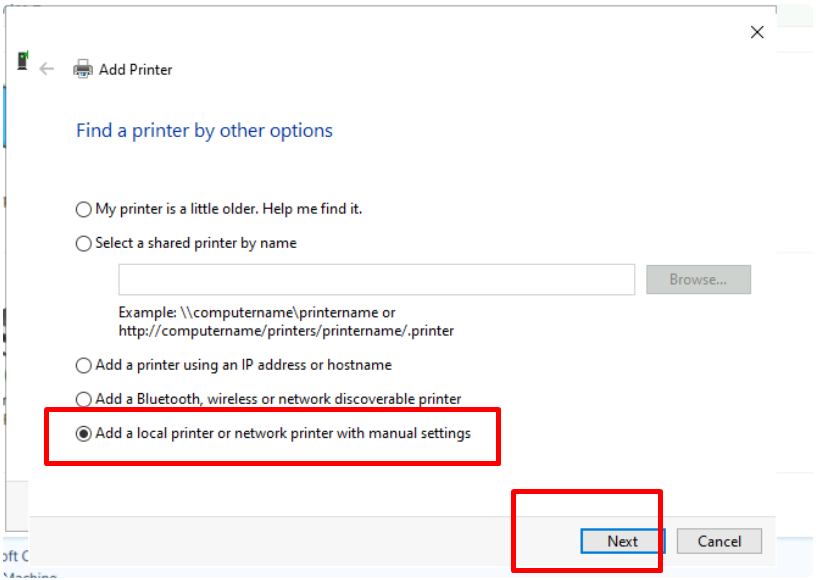
- Select Add a local printer or network printer with manual settings and click Next.
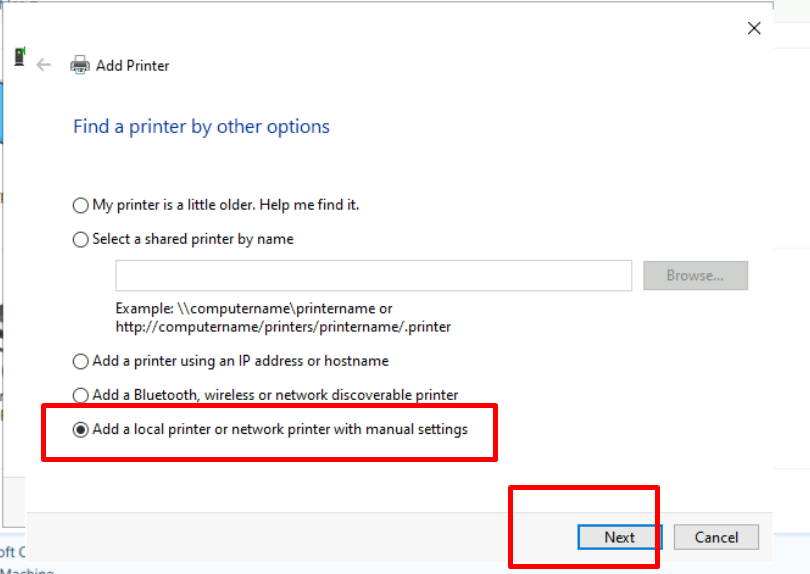
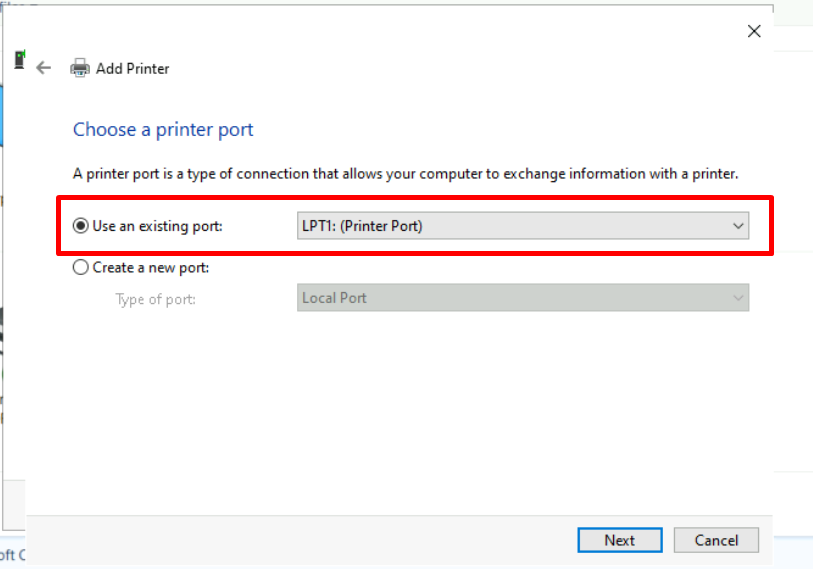
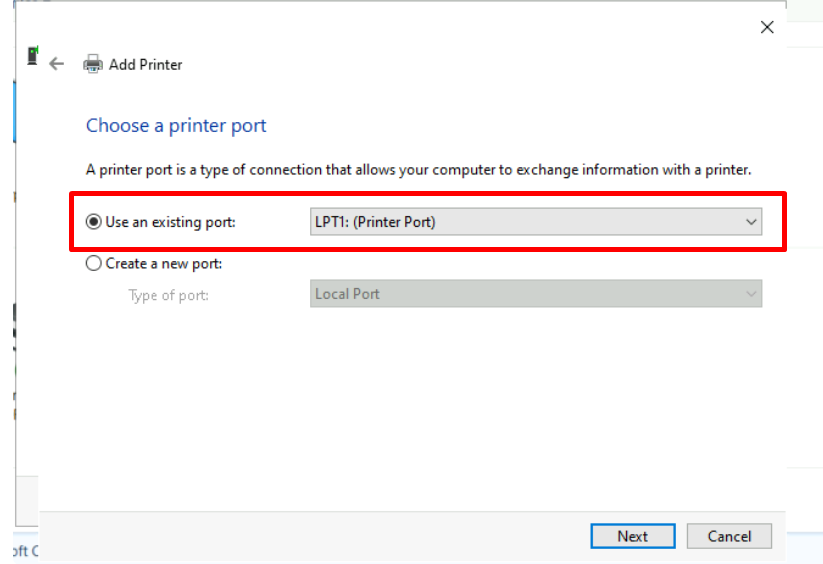
- Choose Use an existing port and select LPT1:.
- Click Next.
- Click Have Disk....
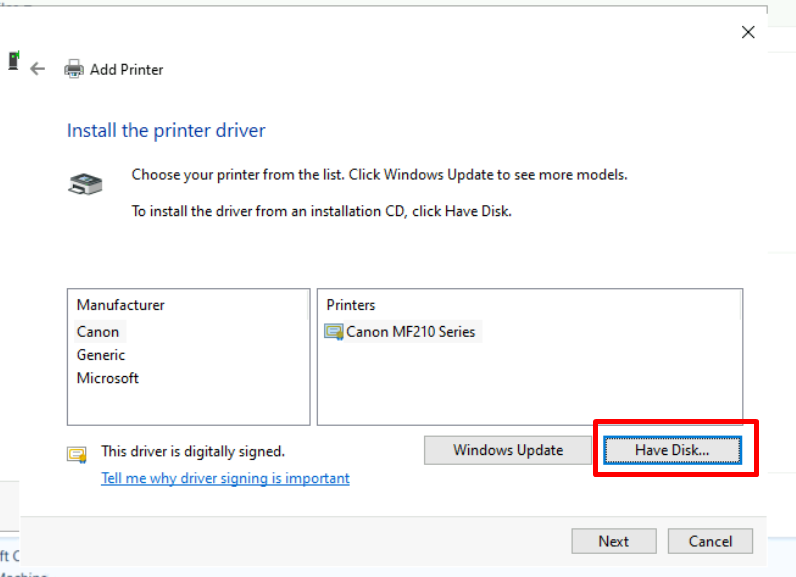
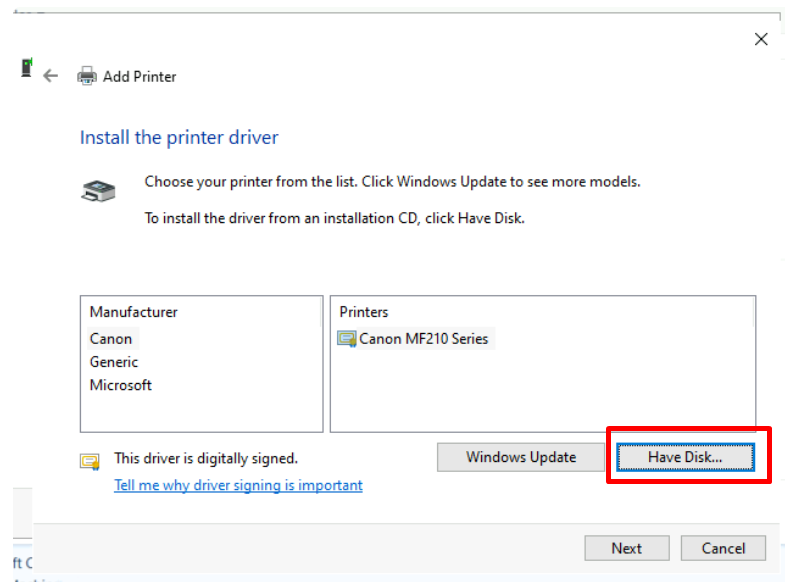
- Browse to the printer driver files and install the appropriate printer driver.
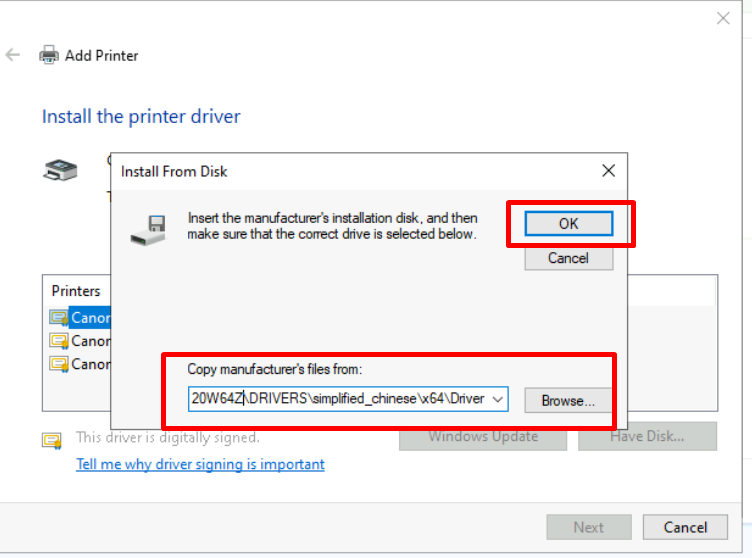
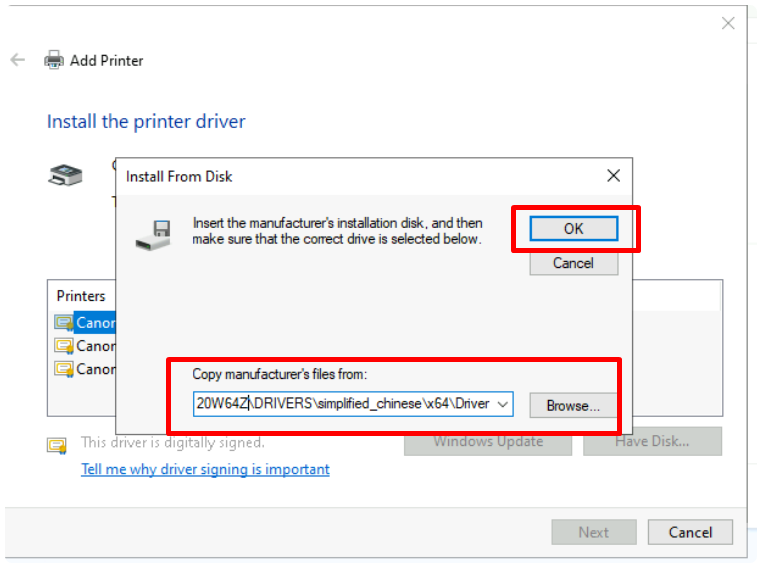
- Complete the installation wizard.
Step 4: Perform a Test Print
After the printer driver installation is complete:
- Open a document on the remote Windows server.
- Select Print.
- Choose the redirected local printer.
- Print a test page to verify that printing works correctly.
You should now be able to print documents from the Windows server through your local printer.